Install SharePoint 2013 Public Beta on Windows Server 2012 RC – Part II – Installation of Active Directory and DNS Services on Windows Server 2012 RC
6With the new version of SharePoint almost in Public Beta (I have hopes it will be this month) it is time to show how you can install it on the new Release Candidate of Windows Server 2012.
Since the new version of SharePoint isn’t there yet this series of blog post will continue with Installation of Active Directory and DNS Services on Windows Serve 2012 RC. After this post the following post will follow:
- Part III – Installation of SQL Server 2012 on Windows Server 2012 RC
- Part IV – Installation of the Prerequisites on Windows Server 2012 RC
- Part V – Installation of SharePoint 2013 on Windows Server 2012 RC
- Part VI – Configuring SharePoint 2013 on Windows Server 2012 RC
So let us begin with the activation of the Active Directory role on Windows Server 2012 RC. So start up your Virtual Machine and log in to Windows Server 2012.
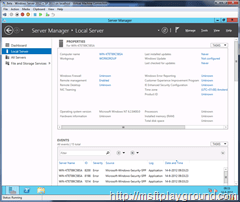
When continuing from the previous blog post the “Server Manager” will be opened. If it does not open it.
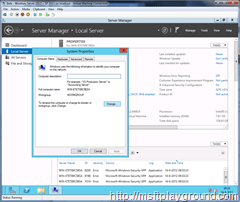
Since we did not rename the machine in the previous post we will start by renaming the server. Select “Local Server” within the server manager and click on your existing “Computer Name”. This will open an new window.
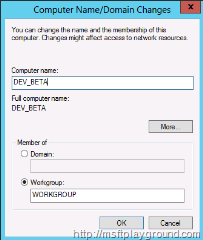
In the new window click on the “Change” button to change the computer name. Another window will open that gives you the option to fill in your computer name. For my virtual machine I choose “DEV_BETA”.
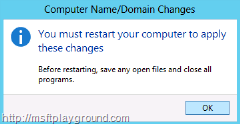
With the new name filled in click on “OK” to close the window. You will then get a warning message that you must restart your computer to apply the changes. Click “OK” again.
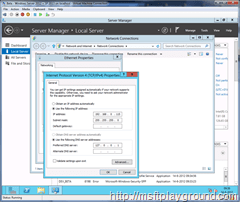
When you virtual machine is restarted open the server manager and select “Local Server”. We will now add a static IP address to the server for the DNS. Click on “IPv4 address assigned” next to “ Ethernet” to open the “Network Connections” screen. On the network connections screen select the internal network card with your second mouse button and open the properties.
For this demo environment we will disable the IPv6 option and alter the IP address of the IPv4 option.
It does not matter to which address you change your local IP address. Close all off the windows and return to the Server Manager.
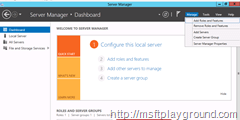
On the right top side of the “Server Manager” you will see an option called “Manage” click on this option and then select “Add Roles and Features”.
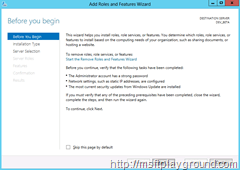
The “Add Roles and Features Wizard” will start up with the Splash screen on which you can select “Next”.
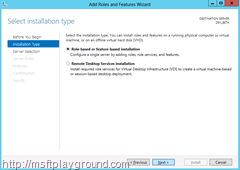
In the next step you will be offered the choice to select the type off installation you want to perform. This different types give you the option to install on a running machine, virtual machine or on a offline virtual hard disk. Since we will be installing it on the local machine select the option “Role-based or feature-based installation” and click “Next”.
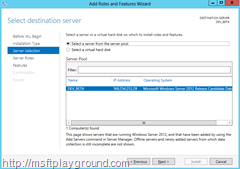
Another new step in the wizard is the Server Selection step. This step offers you the option to select a Running machine of Virtual Hard disk to install on. We will just select our current server from the server pool and continue with the wizard.
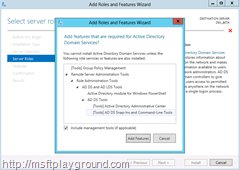
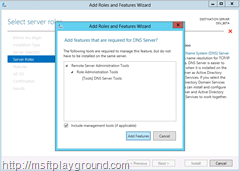
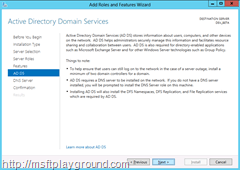
The next step finally offers us the possibility to select the roles we want to install. Select the “Active Directory Domain Services” role and the “DNS Server” role. They will both give us a warning informing that they need to install required features.
On both the warning messages click “Add Features” and continue to the “Features” step.
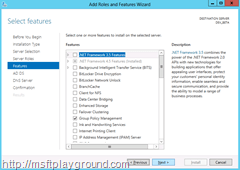
At the moment we do not have to have any features so we will just click “Next”.
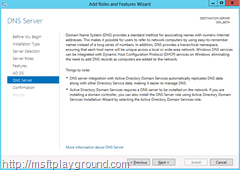
After the features step we will get two steps informing us about the Active Directory Domain Services and the DNS Server. On both steps click “Next” to proceed to the installation.
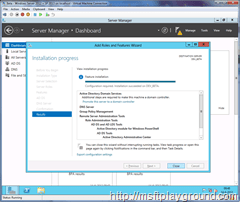
On the “Confirmation” screen click “Install” to start the installation. Wait till installation is finished to close the “Add Roles and Features Wizard”.
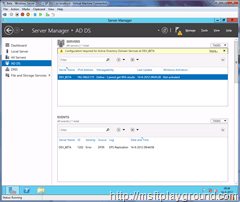
Now that the roles are installed we still need to configure active directory. With the wizard closed you will be back at the “Server Manager”. The Server Manager now haves a few more menu options on the left side of the screen. Select “AD DS” to start with the configuration of AD.
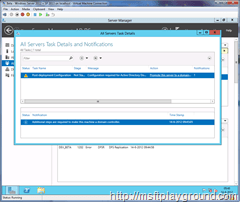
At the top of the screen you will see a yellow status bar stating that you have to configure Active Directory. At the end of the status bar click more to open the details.
The message that you will find states that you will have to perform the post-deployment configuration. You can start this configuration by selecting the action on the same row called: “Promote this server to a domain”.
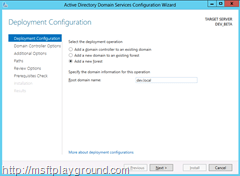
With this action clicked the “Active Directory Domain Services Configuration Wizard” will start in which we will configure the domain.
The first step offers the option to join a existing forest or to create a new forest. Since this is the first server we will have to create a new forest and insert a root domain name for our domain. Lets call it dev.local.
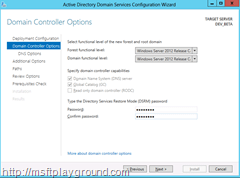
In the next step we will have to choose a domain functional level and forest function level. We will set this option to Windows Server 2012 Release Candidate. We set this to the new version because it will give us the newest advanced features within the domain.
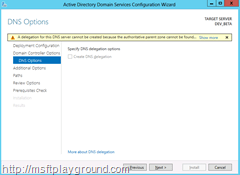
Fill in the password you would like to use for the Directory Restore Mode to proceed to the next step. This step gives the option to set up DNS delegation. Since we will not use this option leave it to default and click “Next”.
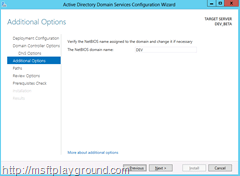
Depending on the root domain name you chose three steps back the wizard will try to generate a NetBIOS name. Check if the name is correct. In my installation it generated the NetBIOS name “DEV” which is correct for me. If the name isn’t correct, you can change it.
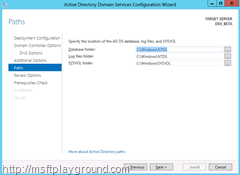
Next up is setting the location where Active Directory will save his files. It will save files for:
- The Active Directory Database
- The Active Directory Log Files
- The Active Directory SYSVOL (The SYSVOL folder is a public folder that will contain the public system files for the domain).
For now we can leave these locations to the default and continue to the review step.
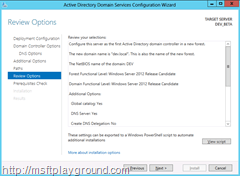
On the review step check the filled in information. If everything is correct click “Next” to start the configuration of your Domain services.
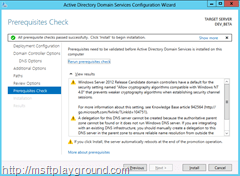
Before the configuration of the domain services starts it will run a prerequisites step. Check if there aren’t any significant warnings / errors and if there are not any continue by clicking “Install”.
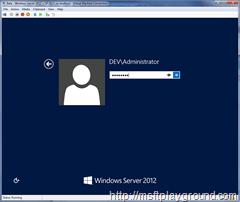
After the installation the server will restart and you will have to login to the Domain. You can do this by using the same administrator password as before. But you will now be a Domain Administrator.
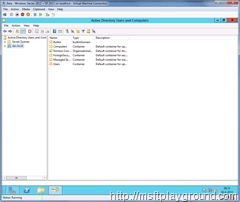
To alter the Active Directory Users or Computer do the following:
- Go to the Start Menu by using the Windows button or by going to the low left corner with your mouse.
- With the Start Menu open select “Active Directory Users and Computers”.
or
- Open the Server Manager
- Select “Tools” on the Tap bar.
- Select “Active Directory Users and Computers” from the “Tools” menu.
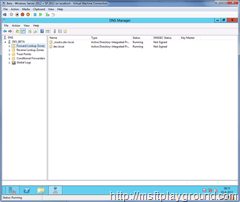
To alter the DNS configuration do the following:
- Go to the Start Menu by using the Windows button or by going to the low left corner with your mouse.
- With the Start Menu open select “DNS”.
or
- Open the Server Manager
- Select “Tools” on the Tap bar.
- Select “DNS” from the “Tools” menu.
This was the second post in a series of 6 posts. In the next post I will show you how to install SQL Server 2012 on Windows Server 2012 RC.

