Installation of Microsoft SharePoint Server 2010
- Domain server
- Application server
- Web server
When I was finished with the configuration off the roles. I looked at TechNet to find some information about the users you will have to configure for the SharePoint 2010 installation and I found some great articles for setting up the user rights and the accounts you need for the installation:
- Administrative and service accounts required for initial deployment (SharePoint Server 2010)
- Deployment scenarios (SharePoint Server 2010)
After I read the information I started the installation off SQL Server 2008 and SQL Server 2008 SP1. The information stated that you have to have a SQL Server running SP1 Cumulative Update 2. So I downloaded the SP1 Cumulative Update 2 from the Microsoft site. But you can also install SQL Server 2008 R2 (RTM will appear on MSDN on 3 May by the way :)):
Since the pop3 service isn’t in Windows Server 2008 I also installed a application that can be used for the mail.
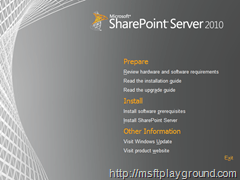
When you follow the guides from TechNet you will setup the rights in the right way and you can start with the installation of SharePoint. When you insert the SharePoint Server 2010 installation disc / iso it will startup with a splash screen:
As you can see you will have several options on this splash screen. You can choice to review the hardware and software requirements and the installation guide if you haven't read my links to TechNet yet. To begin the installation we will have to install the software prerequisites.To to install them click on ‘Install software prerequisites’.
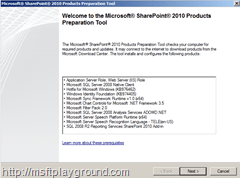
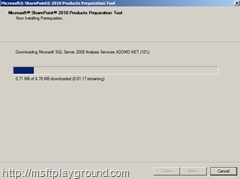
The Microsoft SharePoint 2010 Products Preparation will install all of the software prerequisites. If you click on next the tool will start downloading all of the prerequisites you don’t have on the server. After downloading those it will automatically start the installation of the prerequisites.
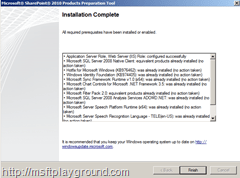
When the installation off the prerequisites is complete you will have to check the screen if all installations were successful. If there was an installation unsuccessful don’t continue with the installation because it can break the complete SharePoint installation and you will have to start over. Try to fix it by reading the log files.
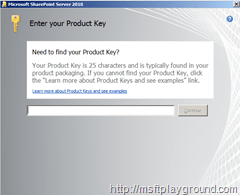
When the installation off the software prerequisites is completed you can start with the installation of the SharePoint 2010 binaries. To start the installation you will have to click on ‘Install SharePoint Server’ on the splash screen. The first thing you will have to do is insert the product key.
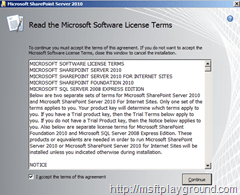
After you have entered your key you will have to accept the License Terms:
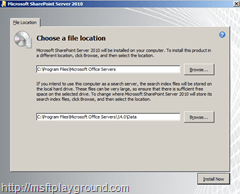
When you have accepted the license terms and have clicked continue you will have the option to change the file location. If you want you can set the file location to another folder but for my environment I have kept the default settings.
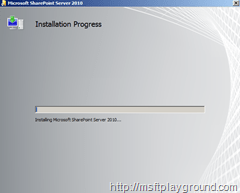
After you click on ‘Install Now’ the installation will start running.
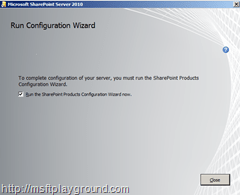
After a while the installation is complete and you will have the ability to finish the installation. On last screen you will also have a checkbox to Run the SharePoint Products Configuration Wizard. You can also uncheck this checkbox and run it from the start menu: Start – All Programs – Microsoft SharePoint 2010 Products - SharePoint 2010 Products Configuration Wizard. For now we will keep the checkbox checked and click on ‘Close’.
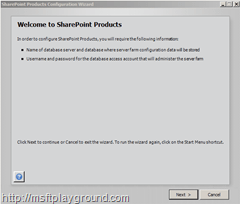
The SharePoint Products Configuration Wizard will start up with the following screen.
When you click next the Configuration Wizard will give you a warning that it may have to reset several services. Since this is our first installation we can ignore this message and click on ‘Yes’.
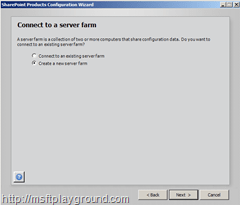
When we have clicked ‘Yes’ the configuration wizard will ask us if we would like to connect to a existing server farm. Since we don’t have a server farm we will click on ‘Create a new server farm’ and click on ‘Next’.
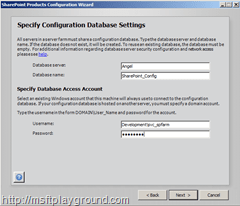
On the next screen you can specify the configuration database settings. Here you will have to fill in the Database server and the name of the Configuration Database. Besides that you will also have to provide the account that are needed to access the database be aware that this account will also be used as the application pool account for Central Administration.
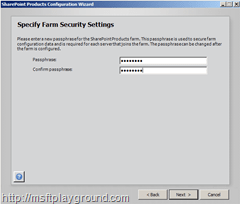
When you have filled in all the settings and you have clicked on ‘Next’ you will see that the SharePoint 2010 Configuration Wizard has a screen that the SharePoint 2007 Configuration has not. On this screen you will have to provide a password for the farm that you will have to use when you want to connect a new server to the farm.
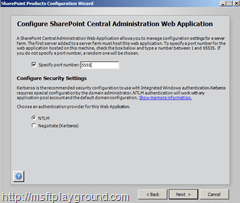
On the next you will have to setup the Central Administration Web Application by providing a port number you want to run the Central Administration Web Application under and you will also have to provide which authentication provider you would like to use. If you choice to use Kerberos you will also have to create Service Principal Names (SPN). In this article you can read how this can be done.
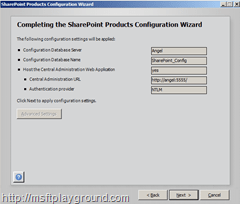
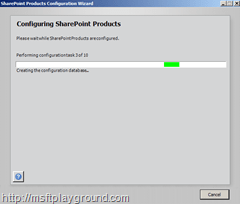
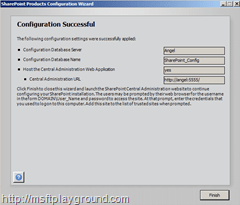
When you click on ‘Next’ you will see a summary of all the properties you have filled in. Check these settings and click on ‘Next’ to run the configuration wizard.
When the configuration wizard is complete you have a new SharePoint development environment were in you can create new web applications.
In the future I will also write several guides to create several service applications. For now Happy SharePointing.

