Cost management is crucial for maintaining a cost-effective cloud platform. Without proper cost management, you can face unexpected charges. Azure contains a couple of possibilities for efficient cost management.
Almost every scope within Azure (Management groups, subscriptions, and resources groups) has a ‘cost management’ section within the menu. All of these can also be managed from the ‘Cost Management’ blade within the Azure Portal.
When thinking about cost management in Azure, a few things are very important. One of them is the visibility of the costs within the platform. You should always be able to see the costs associated with your resources and applications. To get insights into this, you should use tags (especially when resources span resource groups or subscriptions).
Note: Tags used for your resources can also be used to create specific budget alerts.
In your environment, a person or team should be responsible for cost management. In many organizations, these responsibilities are also assigned within the DevOps teams. Managing costs for the platform is an iterative process that should be handled by the people responsible for it. The process really spans optimizing, adjusting, and sharing insights. Besides the responsibility, applications should be designed with costs in mind. When setting up a technical design for Azure, it is expected to include a subsection on costs and a description of why specific resources are used, which could also be based on costs. Even choosing the right location for a resource could be based on costs.
To help you make these decisions, the Azure Cost Calculator can help.
Insights regarding the costs within Azure are retrieved in a couple of ways, and Azure already offers an extensive one with the Cost Management Blade within the platform:

The rest of this article will discuss how to monitor your costs across the different scopes and set up budget and anomaly alerts.
Cost Anomaly Alert
An anomaly is something that deviates from the expected or normal pattern. In the context of Azure and the associated costs, an anomaly typically refers to an unexpected spike or drop in cloud costs that is different based on historical information.
The Azure platform offers the capability to set up alerts for these anomalies, allowing you and, for example, your DevOps team to monitor their costs.
With an Azure Landing Zone implementation in place, it is a good option to include this with your application deployments and subscription vending process.
These alert rules can be created in the portal by performing the following steps:
- Go to Azure Cost Management within the Azure Portal.
- In the monitoring section, click on ‘alert rules.’
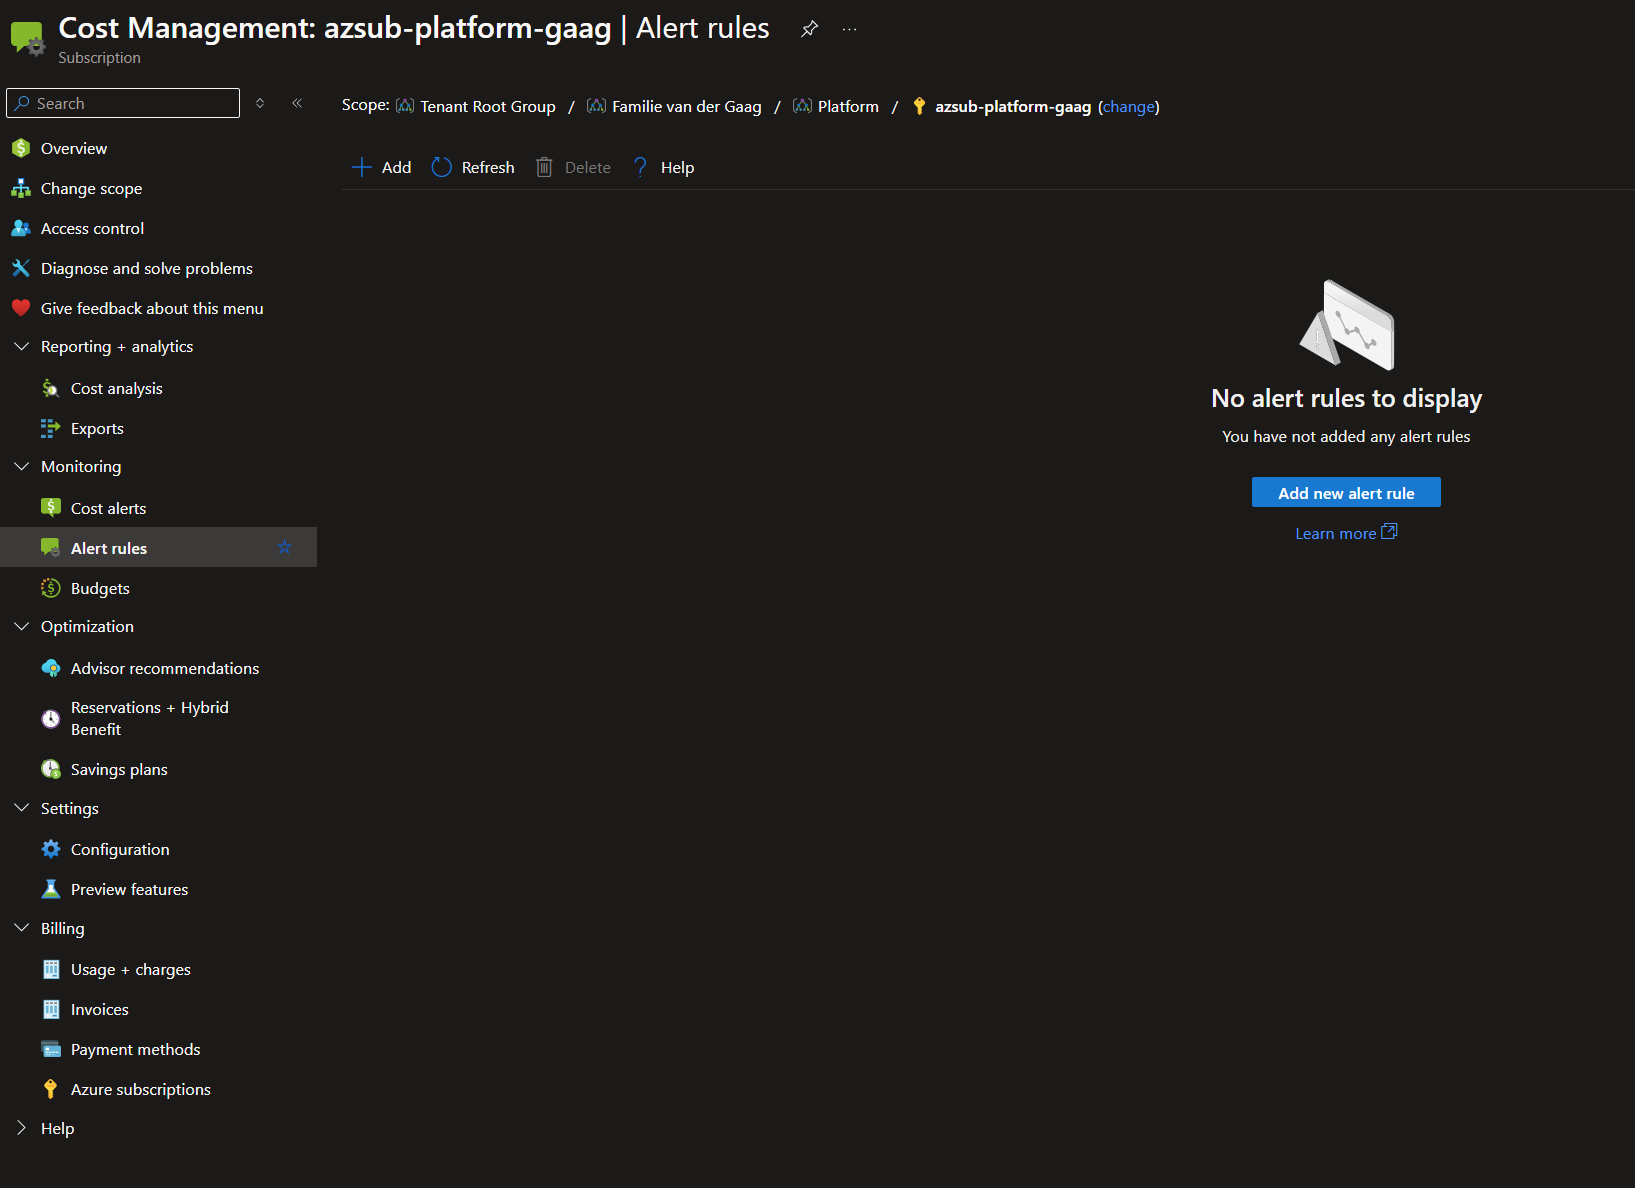
- Click on ‘Add’ to create a new alert rule.
- Set the alert type to ‘Anomaly’ and fill in the other information.
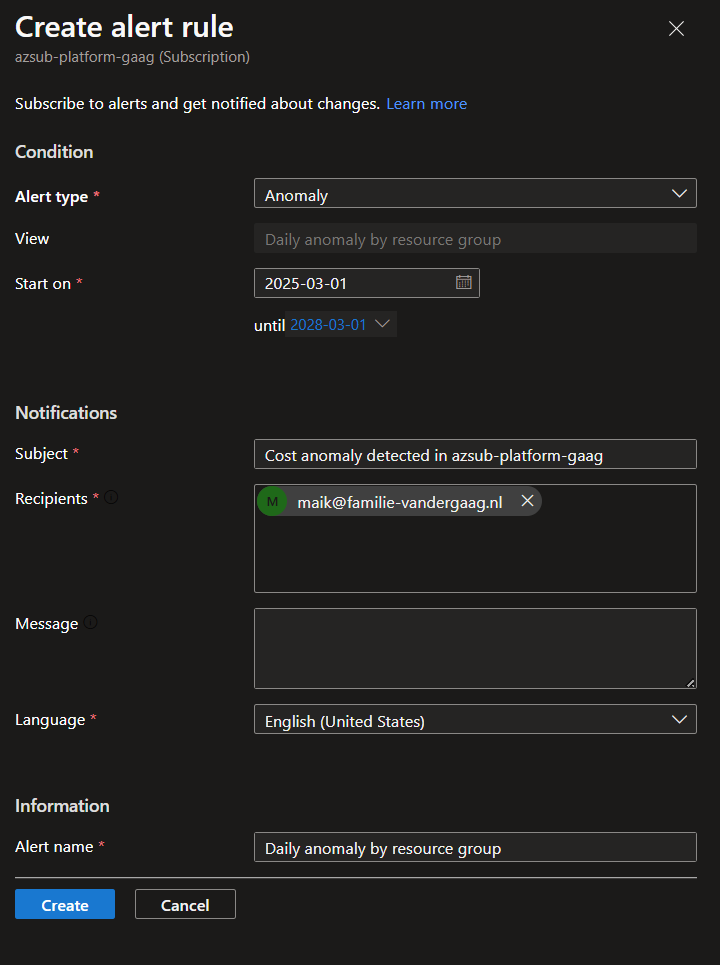
Save the alert rule and wait to see if you have strange behavior within the costs. Before saving, make sure the alert’s scope is the correct one.
Before saving alert rules, make sure that the alert is configured on the correct scope. This way, you can ensure that you are not over-alerting people.
Bicep Anomaly Alert
Creating the alerts within the portal is nice, of course, but it would be much better if we could automate this process. So, let’s see if we can specify an anomaly alert within Bicep.
targetScope = 'subscription'

@description('The name for the scheduled action. This name is used in the resource ID. Default: AnomalyAlert.')
param name string = 'AnomalyAlert'

@description('The display name to show in the portal when viewing the list of alerts. Default: (scheduled action name).')
param displayName string = name

@description('Email address of the person or team responsible for this scheduled action.')
param notificationEmail string

@description('List of email addresses that should receive emails.')
param emailRecipients array

@description('The body of the email. Default: Anomaly detected in your subscription. Please review the Cost Management dashboard for more details.')
@maxLength(250)
param emailBody string = 'Anomaly detected in your subscription. Please review the Cost Management dashboard for more details.'

@description('The subject of the email. Default: (Anomaly alert: [subscription displayname]).')
@maxLength(70)
param emailSubject string = 'Anomaly alert: ${subscription().displayName}'

@description('The first day the schedule should run. Default = Now.')
param scheduleStartDate string = utcNow('yyyy-MM-ddTHH:00Z')

@description('The last day the schedule should run. Default = 1 year from start date.')
param scheduleEndDate string = dateTimeAdd(scheduleStartDate, 'P1Y')

@description('The view ID to use for the scheduled action (should not be adjust but is defined as param to comply to best practices). Default: DailyAnomalyByResourceGroup.')
param viewId string = '${subscription().id}/providers/Microsoft.CostManagement/views/ms:DailyAnomalyByResourceGroup'

resource sa 'Microsoft.CostManagement/scheduledActions@2024-08-01' = {
  name: name
  kind: 'InsightAlert'
  properties: {
    displayName: displayName
    viewId: viewId
    notificationEmail: notificationEmail
    status: 'enabled'
    notification: {
      subject: emailSubject
      to: emailRecipients
      message: emailBody
    }
    schedule: {
      frequency: 'Daily'
      startDate: scheduleStartDate
      endDate: scheduleEndDate
    }
  }
}
The above template creates an anomaly alert on a subscription scope. The parameters allow you to adjust the naming and information in your mail. Using this Bicep in your subscription vending process will help your team members spot any anomalies in the costs of their subscriptions.
Budget Alerting
Next to anomaly alerts, there is also the option to configure budget alerts. This alert type allows you to set up alerts based on actual costs and forecasted costs.
Note: The alerts you configure do not affect resources. Alerts are only an option to keep you informed.
What is essential to know about the budgets is that cost and usage data is normally available within 8-24 hours, and budgets are evaluated against these costs every 24 hours. Usually, when an alert needs to be sent out, it will be sent out within the hour.
Budget alerts can be specified on many different scopes. The most well-known scopes are management groups, subscriptions, and resource groups, but there are also other scopes, such as EA accounts. More info about the scopes can be found here: Microsoft Learn
Setting up these alerts is easy and can be done quickly. These steps can be performed from the specific scope but can also be started from the cost management blade.
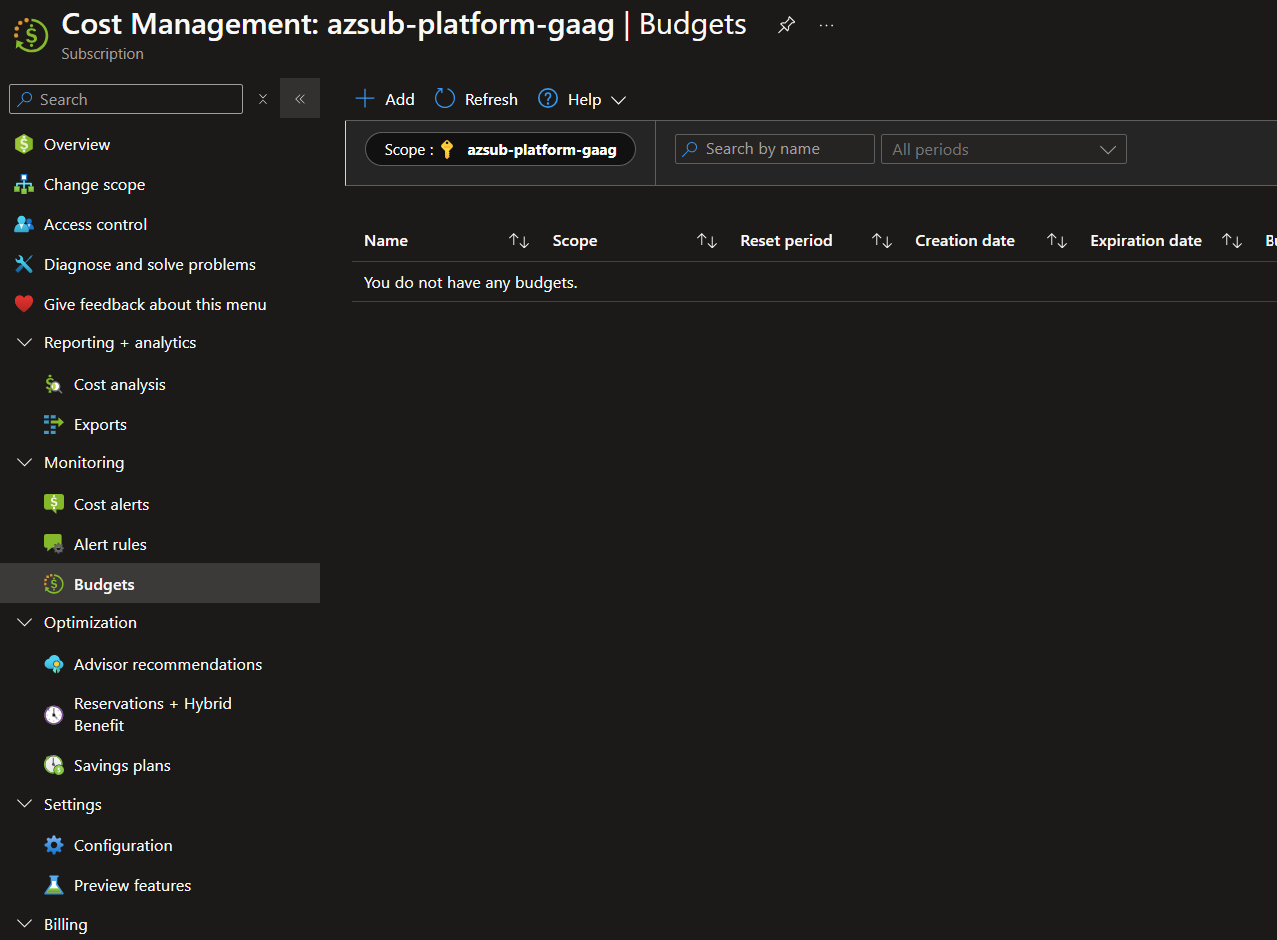
- Click on ‘Add’ to create a new budget alert.
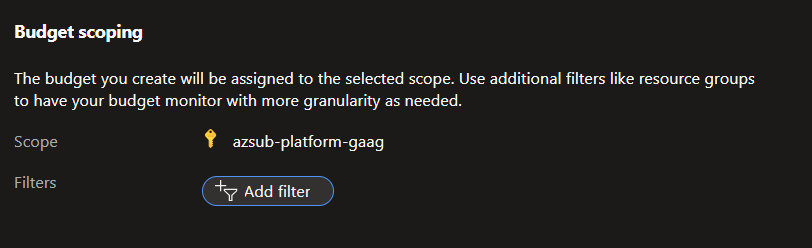
- Specify the scope of your budget alert. Be sure to also look into the filter capabilities within the filter options. You can, for example, create budget alerts for all resources with a specific tag value.
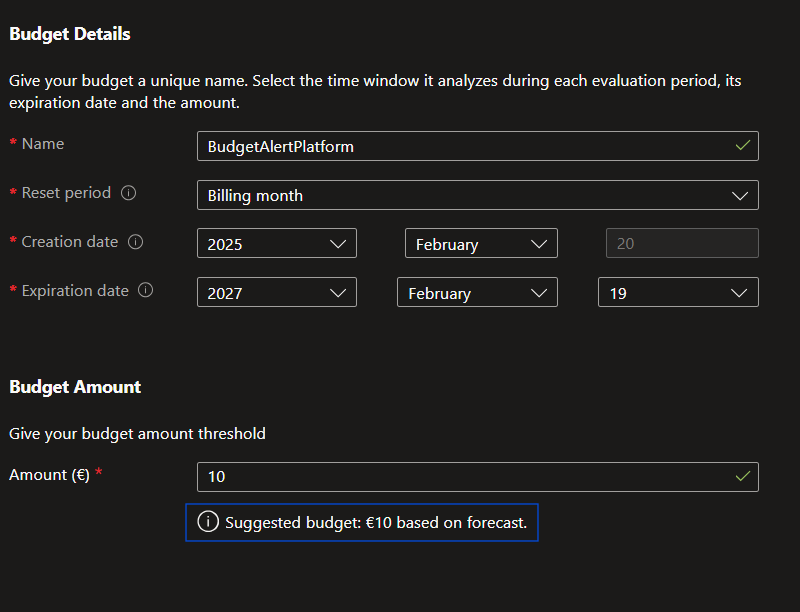
- Fill in the budget details and amount. The system will alert you against this amount. Also, watch the suggestions the platform gives you.
- Now, the alert conditions can be specified. The alert conditions specify when alerts will be sent. Here you can select if you want to alert on actual costs or on forecasted costs. Alerts are sent based on a percentage of your costs on the specified scope. An action group can be selected for the rule as a last option. This gives the possibility to notify specific people on specific thresholds.
Note: You can notify people with a specific RBAC role on the scope using the action group capability. This way, you can directly inform people who can take action!

- Click Create to save the budget alert
Bicep Budget Alert
As with the anomaly alerts, it is great that you can configure them via the portal; it is even better if you can automate this within your existing processes.
To automate this, we will dive into the Bicep code again.
targetScope = 'subscription'

@description('Name of the budget.')
param name string

@description('The total amount of cost or usage to track with the budget')
param amount int = 1000

@description('The time covered by a budget. Tracking of the amount will be reset based on the time grain.')
@allowed([
  'Monthly'
  'Quarterly'
  'Annually'
])
param timeGrain string = 'Monthly'

@description('The start date must be first of the month in YYYY-MM-DD format.')
param startDate string = utcNow('yyyy-MM-ddTHH:00Z')

@description('The last day the schedule should run. Default = 10 year from start date.')
param endDate string = dateTimeAdd(startDate, 'P10Y')

@description('The notifications associated with a budget.')
param notifications object

@description('The first threshold amount that triggers the budget notification.')
param filter object

resource budget 'Microsoft.Consumption/budgets@2024-08-01' = {
  name: name
  properties: {
    timePeriod: {
      startDate: startDate
      endDate: endDate
    }
    timeGrain: timeGrain
    amount: amount
    category: 'Cost'
    notifications: notifications
    filter:filter
  }
}
The bicep file itself is very simple. This template’s scope is also a subscription, but it can be any of the other allowed scopes.
Most of the logic for this template is placed into parameters so that the template itself can be reused. Using this option, it is kind of hard to let end users manage it, but technical people should be able to work with it.
Take a look at the following bicep parameters in the below snippet.
using './budget-alert.bicep'

param name = 'Bicep Budget Alert 2'
param amount = 1000
param timeGrain = 'Monthly'
param notifications = {
  budgetone: {
    enabled: true
    operator: 'GreaterThan'
    threshold: 80
    contactEmails: [
      'maik@familie-vandergaag.nl'
    ]
    thresholdType: 'Actual'
  }
  budgettwo: {
    enabled: true
    operator: 'GreaterThan'
    threshold: 100
    contactEmails: [
      'maik@familie-vandergaag.nl'
    ]
    thresholdType: 'Forecasted'
  }
}
param filter = {
  and: [
    {
      dimensions: {
        name: 'ResourceGroupName'
        operator: 'In'
        values: [
          'rg-'
        ]
      }
    }
    {

     tags: {
        name: 'environment'
        operator: 'In'
        values: [
          'prd'
        ]
      }
    }
  ]
}
In the bicep parameter files, the notifications and filters are configured.
Conclusion
Optimizing budget configurations is crucial for monitoring your cloud usage and costs.
As you have read in this article, you should start by using automation and utilizing Infrastructure as Code to achieve efficient cost Management.
For further reading about this subject and to check out the source code shared in this post, look at the links below.
]]>