Getting started with Project Bicep for Azure ARM
Bicep is at the time of writing an experimental language that you can be used to simplify the writing of ARM templates. Bicep is a so called DSL (Domain Specific Language) meaning that it is a specific language for a specific domains in this case ARM.
In short Bicep is a abstractions over the Azure Resource Manager and ARM templates which means that any thing that can be done in ARM templates should also be possible in Bicep.
Concrete this means that Bicep files need to be compiled to ARM json templates meaning that ARM effectively is an Intermediate Language.
Why do we want something like Bicep
Bicep is developed with the goal of being simpler and easier to understand than ARM templates. Besides that by hiding a lot of options it should be easier to read as well. But let’s check it out our selves to see if this is correct.
Really getting started
To get started with Bicep the compiler / tool needs to be installed on the machine.
- Installation documentation: https://docs.microsoft.com/en-us/azure/azure-resource-manager/bicep/install
If you directly want to install Bicep for windows you can also use this link:
The installation itself is very straight forward and will install the Bicep CLI.

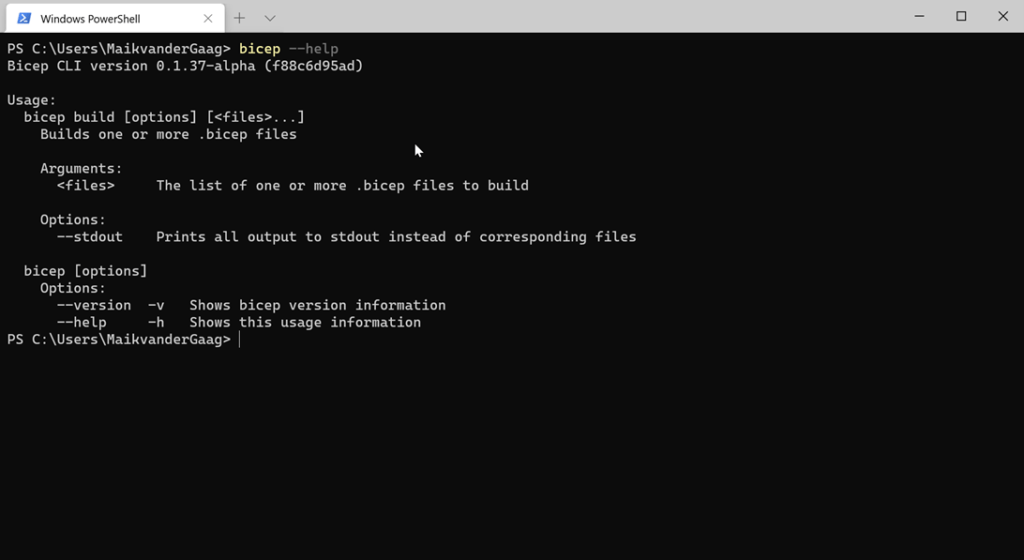
Once installed, the installation can be validated by opening a Windows terminal and typing the following command:
bicep --help

For Bicep there is also a extension for you favorite IDE: Visual Studio Code. To make it easier to write Bicep files install the extension.
When trying to install the VSIX remember that you cannot double click the extension but that you need to install it from Visual Studio Code itself:

The first bicep file
With all pre-requisites installed we can create our first Bicep file in Visual Studio Code. In this article we will setup a Bicep file for a Azure App Service with Application Insight.
Take the first steps:
- Create a new file and for example call it main.bicep
- Add parameters to you file with the param
In a mather of a few seconds you will have something like this:
param appName string

resource app 'Microsoft.Web/sites@2018-11-01' = {
    name: appName
}
Going from Bicep to ARM is very easy by using the following command:
bicep build [reference to your bicep file]
The above bicep file will result in a template like below.
{
  "$schema": "https://schema.management.azure.com/schemas/2019-04-01/deploymentTemplate.json#",
  "contentVersion": "1.0.0.0",
  "parameters": {
    "appName": {
      "type": "string"
    }
  },
  "functions": [],
  "variables": {},
  "resources": [
    {
      "type": "Microsoft.Web/sites",
      "apiVersion": "2018-11-01",
      "name": "[parameters('appName')]"
    }
  ],
  "outputs": {}
}
Import to notice in Bicep is the following: resource [reference] [type][version]
- Reference: You can use this value throughout the complete file. This way you can reference resource specific variables.
- Type: the type of the resource
- Version: the specific version you would like to use
Extending the sample
The beauty of the Bicep language is the easy references and the dependencies the languages creates. This means you do not longer have to specify the dependencies but the language will do that for you.
If we continue with the sample after a few moment the file will look like this.
param appName string
param location string = resourceGroup().location

resource insights 'Microsoft.Insights/components@2015-05-01' = {
    name: 'insights-${appName}'
    location: location
    properties: {
        Application_Type: 'web'
    }
}

resource hosting 'Microsoft.Web/serverfarms@2019-08-01' = {
    name: 'hosting-${appName}'
    location: location
    sku: {
        name: 'S1'
    }
}

resource app 'Microsoft.Web/sites@2018-11-01' = {
    name: appName
    location: location
    identity: {
        type: 'SystemAssigned'
    }
    properties: {
        name: appName
        siteConfig: {
            appSettings: [
                {
                    name: 'APPINSIGHTS_INSTRUMENTATIONKEY'
                    value: insights.properties.InstrumentationKey
                }
            ]
        }
        serverFarmId: hosting.id
    }
}

output appId string = app.id
The above Bicep file is a reference for a Azure Web Application with Application Insights attached. As mentioned before the dependencies and references defined look very easy.
Even notice the output option at the end that looks a lot cleaner and simpler than what you would normally do in ARM. To make the sample complete the above Bicep will result in.
{
  "$schema": "https://schema.management.azure.com/schemas/2019-04-01/deploymentTemplate.json#",
  "contentVersion": "1.0.0.0",
  "parameters": {
    "appName": {
      "type": "string"
    },
    "location": {
      "type": "string",
      "defaultValue": "[resourceGroup().location]"
    }
  },
  "functions": [],
  "variables": {},
  "resources": [
    {
      "type": "Microsoft.Insights/components",
      "apiVersion": "2015-05-01",
      "name": "[format('insights-{0}', parameters('appName'))]",
      "location": "[parameters('location')]",
      "properties": {
        "Application_Type": "web"
      }
    },
    {
      "type": "Microsoft.Web/serverfarms",
      "apiVersion": "2019-08-01",
      "name": "[format('hosting-{0}', parameters('appName'))]",
      "location": "[parameters('location')]",
      "sku": {
        "name": "S1"
      }
    },
    {
      "type": "Microsoft.Web/sites",
      "apiVersion": "2018-11-01",
      "name": "[parameters('appName')]",
      "location": "[parameters('location')]",
      "identity": {
        "type": "SystemAssigned"
      },
      "properties": {
        "name": "[parameters('appName')]",
        "siteConfig": {
          "appSettings": [
            {
              "name": "APPINSIGHTS_INSTRUMENTATIONKEY",
              "value": "[reference(resourceId('Microsoft.Insights/components', format('insights-{0}', parameters('appName')))).InstrumentationKey]"
            }
          ]
        },
        "serverFarmId": "[resourceId('Microsoft.Web/serverfarms', format('hosting-{0}', parameters('appName')))]"
      },
      "dependsOn": [
        "[resourceId('Microsoft.Web/serverfarms', format('hosting-{0}', parameters('appName')))]",
        "[resourceId('Microsoft.Insights/components', format('insights-{0}', parameters('appName')))]"
      ]
    }
  ],
  "outputs": {
    "appId": {
      "type": "string",
      "value": "[resourceId('Microsoft.Web/sites', parameters('appName'))]"
    }
  }
}
In the next article I will describe the usage of Bicep modules that can be used for reusing components meaning that you do not have to copy the code around in multiple templates files.
If you want to learn more about Azure Bicep make sure to look at the tutorial on the github page as there are many more great features of this language:
