Install SharePoint 2013 Public Beta on Windows Server 2012 RC – Part III – Installation of SQL Server 2012 on Windows Server 2012 RC
With the new version of SharePoint almost in Public Beta (I have hopes it will be this month) it is time to show how you can install it on the Release Candidate of Windows Server 2012.
Since the new version of SharePoint isn’t there yet this series of blog post will continue with the Installation of SQL Server 2012 on Windows Serve 2012 RC. After this post the following post will follow:
- Part IV – Installation of the Prerequisites on Windows Server 2012 RC
- Part V – Installation of SharePoint 2013 on Windows Server 2012 RC
- Part VI – Configuring SharePoint 2013 on Windows Server 2012 RC
So let us begin with booting up the Virtual Machine we got this far and add the ISO of SQL Server 2012 to the machine.
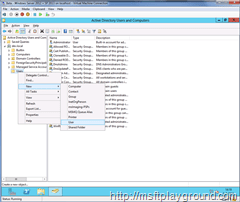
When continuing from the previous blog post the “Server Manager” will be opened. Close the Server Manager and open “Active Directory Users and Computers” to create the service accounts we need for the installation of SQL Server:
To open Active Directory Users or Computer do the following:
- Go to the Start Menu by using the Windows button or by going to the low left corner with your mouse.
- With the Start Menu open select “Active Directory Users and Computers”.
Open the Users OU and use your other mouse button to add users:
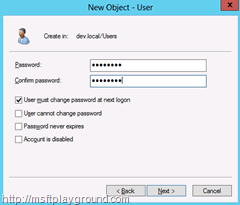
When you have the “New Object - User” window open create the following users:
| First name | Last name | User Logon name | User logon name |
| SQL | DB Engine | svc_sqldbengine | svc_sqldbengine |
| SQL | Reporting | svc_sqlreporting | svc_sqlreporting |
| SQL | Agent | svc_sqlagent | svc_sqlagent |
Make sure you select the options:
- User cannot change password.
- Password never expires.
This will make sure the password of the accounts will not be reset or be disabled.
When the accounts are created it is time to start the installation of SQL server. Run the Setup wizard that's on the SQL Server 2012 CD / DVD.
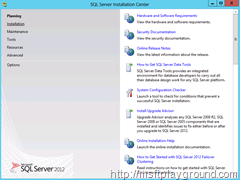
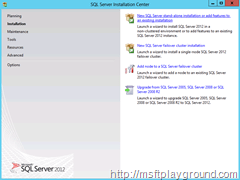
When you run the setup the SQL Server Installation Center will open. Press the Installation option on the left and then select “New SQL Server stand-alone installation or add feature to an existing installation”.
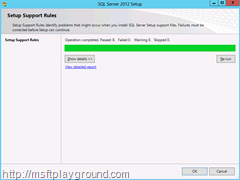
The installation setup will start with running a few startup rules. When you have passed all of the rules click Ok to continue with the installation.
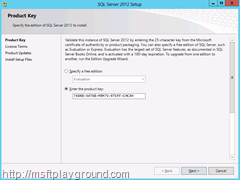
A new window will open and ask for your product key. If your product key hasn’t been filled in yet fill it in and continue by clicking next. On the next step accept the license terms and click next again.
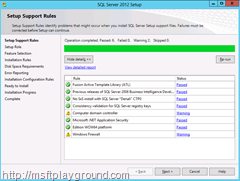
The wizard will now start installing the required files for the installation and will start up another wizard. This wizard will automatically check the conditions of the server.
Most of the the the wizard will give two warnings:
- Computer domain controller: You can ignore this warning because we will use this pc as a development pc. For production servers never install SQL on a domain controller this is for security reasons.
- Windows Firewall: This warning states that the Firewall is blocking SQL server. Because the machine will be a one machine farm we can ignore this warning. When you are creating a farm with multiple pc’s you will have to open the SQL server port. By default this is: 1433.
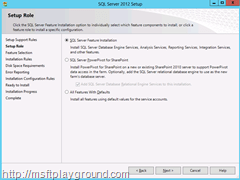
Because we can ignore the warnings we will click next and proceed to the next step. The next step will give us the option to select the installation type. You will have three options:
- SQL Server Feature Installation: This option will give you the possibility to install specific features of SQL Server.
- SQL Server PowerPivot for SharePoint: This option will give you the possibility to install PowerPivot for SharePoint.
- All Features with Defaults.
We will select the first option: “SQL Server Feature Installation” because we want to install SQL server and select the features we want. We do not want to install everything because this can downgrade the performance of our virtual machine.
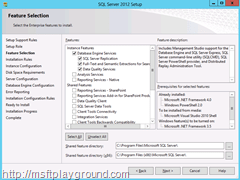
In the next step we can select the features we want to install. We will select the following features:
- Database Engine Services.
- SQL Server Replication
- Full-Text and Semantic Extractions for Search
- Data Quality Services
- Management Tools – Basic
- Management Tools – Complete
At the moment we will not install “Reporting Services Add-in for SharePoint Products” because we do not have a instance running of SharePoint server. Click next to continue with the installation.
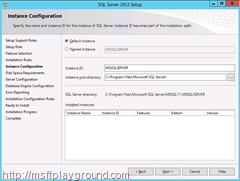
The wizard will perform a couple of checks based on the features you have selected. If you pass all of the Rules click next to continue to the Instance Configuration. On the instance configuration screen you have the option to change the name of the SQL Server Instance. We will keep the default settings and click “next” to continue.
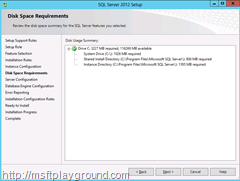
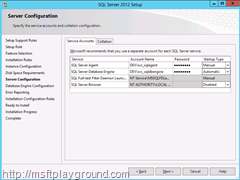
The Disk Space Requirements Step will show you if you have enough hard drive space to install SQL server if you pass this step click next to continue. This will bring us to the “Server Configuration” step. In this step we will have to fill in the accounts and passwords for the services.
Fill in the accounts that we have created in the first step:
| Service | Account Name |
| SQL Server Agent | svc_sqlagent |
| SQL Server Database Engine | svc_sqldbengine |
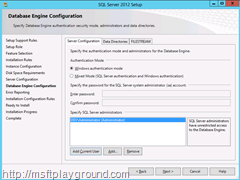
When you proceed you will have the option to select the authentication mode off SQL Server and were the data files are saved. For now we will leave it to the default settings and we will only fill in the SQL Server Administrators. I always fill in the BUILTIN\Administrators group but because were are installing it on a domain controller it cannot find this group that’s why we will just add the current user.
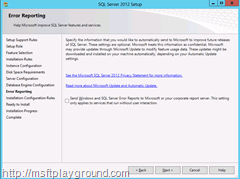
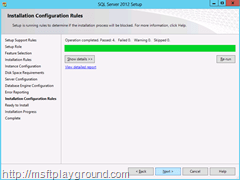
Now that we have configured these last steps we are almost finished with the installation. The next step can be ignored and you can simple click next. The wizard will again check a few rules, when you pass these rules click next to go to the confirmation screen.
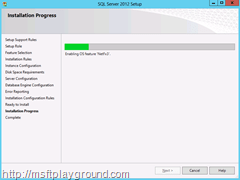
In the confirmation window check every setting and click “Install” to start the installation.
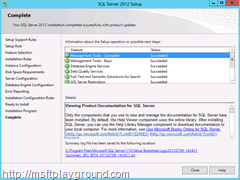
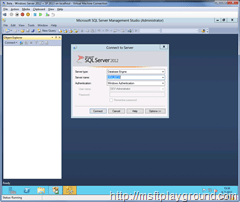
When the installation is complete you can close the wizard. You can then op SQL Server management studio by following these steps:
- Go to the Start Menu by using the Windows button or by going to the low left corner with your mouse.
- With the Start Menu open select “SQL Server Management Studio”.
With SQL Server installed we can start the Installation of SharePoint 2013. We will start this fourth part of the blog series when the SharePoint 2013 Public Beta is released.
